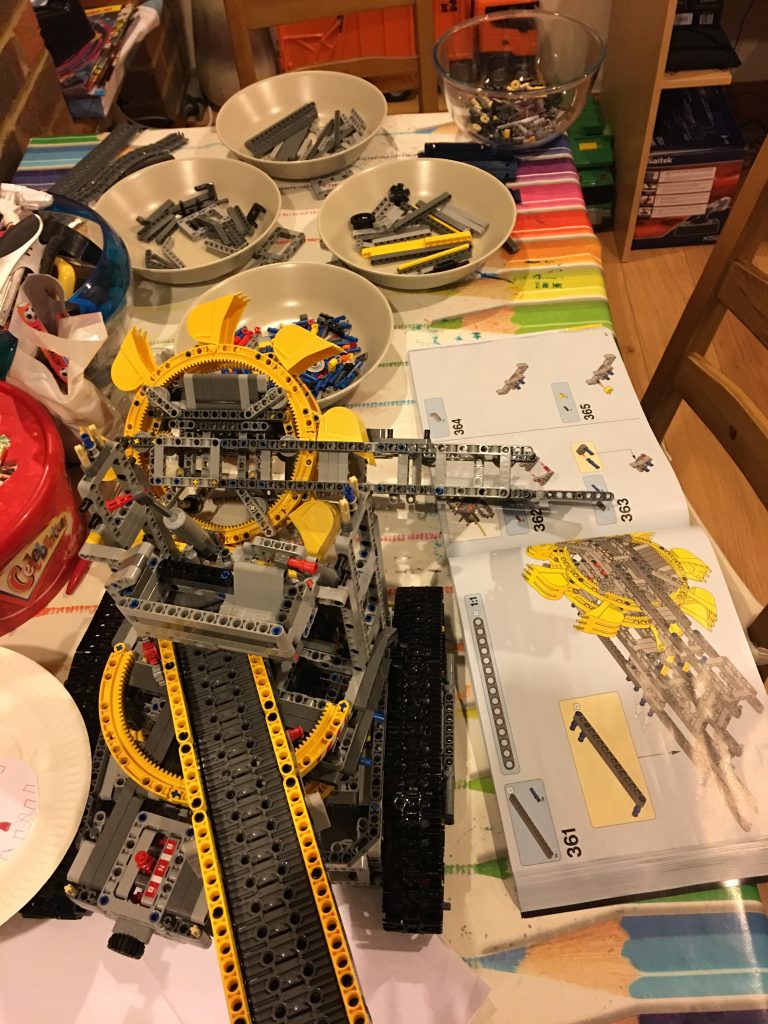
In the most recent season of Lego we have the latest addition to the family:
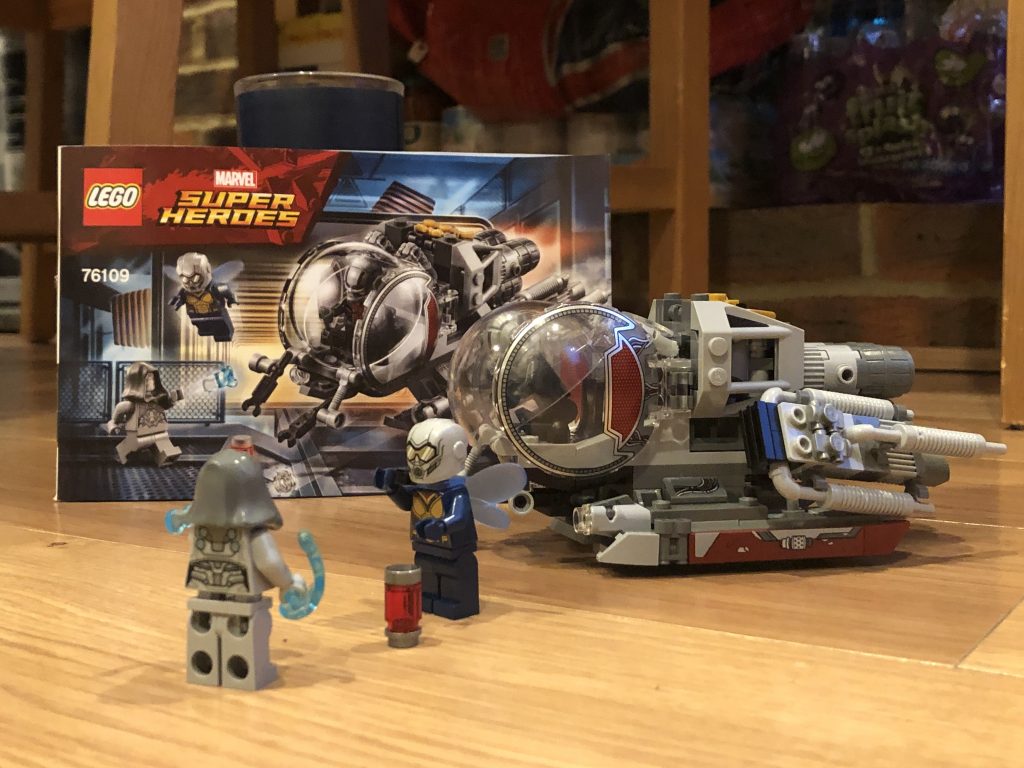
It’s a thing from a movie.

"Nothing but the rain"
I don’t think this will last long. I’m having another go with the PSVR. It’s a virtual reality set for the Playstation. The last time I used one I felt sick almost immediately and got cold sweats. I expect the same to happen again, but this time I have a plan. I am going to keep working at it and try and overcome the sickness.
The other night I set it up and then tried a few of the simpler, slower, non-moving experiences and I coped quite well with that. As I felt good I went on to have a go at driving in Gran Turismo. I did a couple of laps of an oval in a slow car and felt OK. I then managed a few more laps in the same car around Brands Hatch GP circuit. By that point I was tired and starting to get very slight cold sweats. I stopped.
I reckon, that with time and sensible use I might be able to play it enough to be happy with the financial costs. It will take time.
The principle reason that made me get a PSVR again is that I should be able to hook it into the PC and get the flight sim working in VR. This will be an amazing improvement to the sim. This should be reasonably simple so I am going to wait for a time when I have a whole day uninterrupted to do this. I find that setting things up on the PC either take twenty minutes or four hours. There isn’t really an in-between.
After a visit to the RAF Museum at Hendon I came into contact with a couple of not-Lego models that while not-Lego certainly look nice and have a good size. These are Cobi blocks and it looks like they are made in Poland.
So, here are the pair:

And individually:


There was a mini Lego season recently and this is the first beast from that. Ladies and Gentlemen I give you the RC Racer:
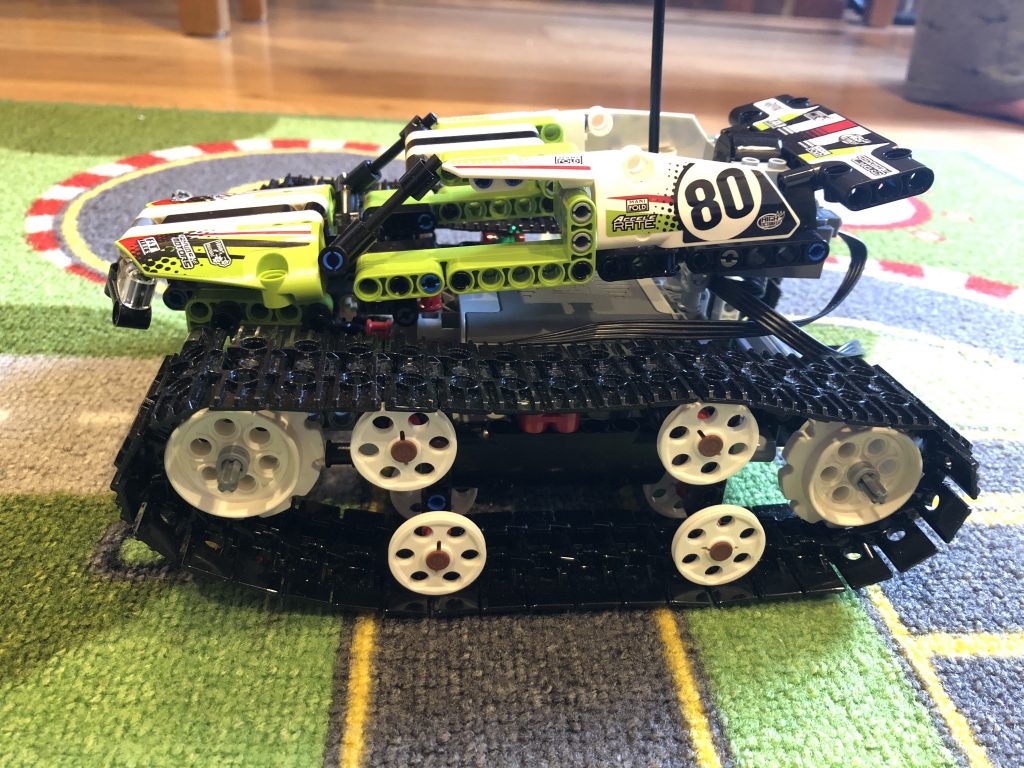
This beast uses a lovely little IR transmission system. It’s pretty well designed and have 4 channels just in case you are near other systems.
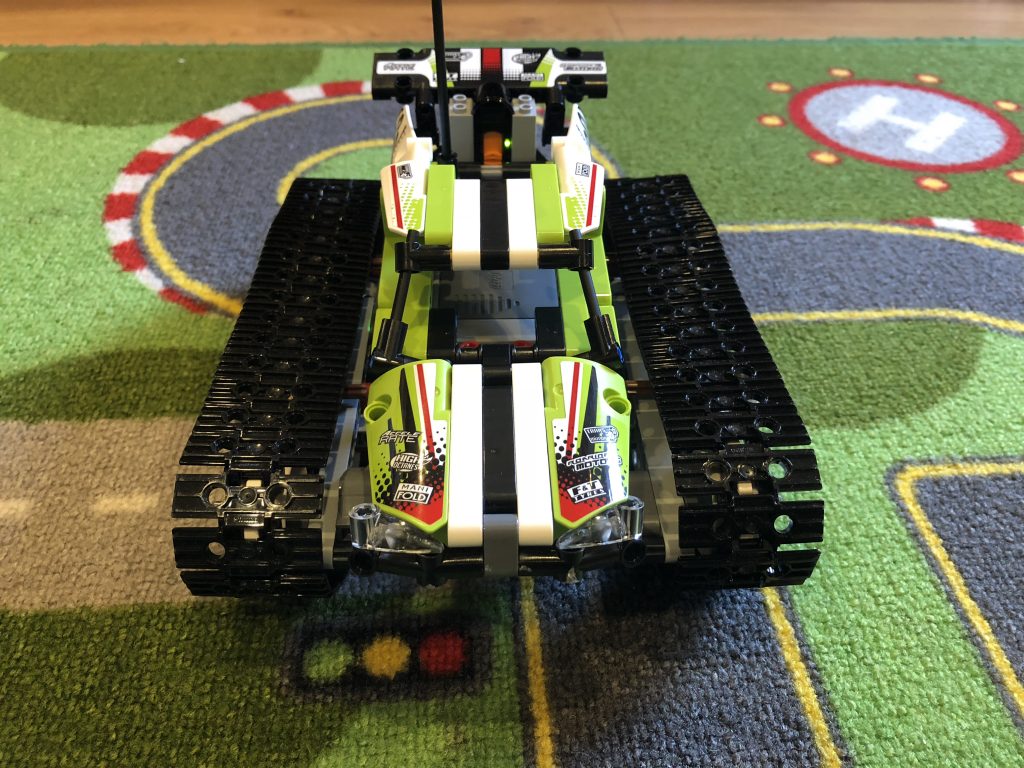
Possibly the only drawback is that the battery pack takes SIX AA batteries, but then that does give a decent about of power. It’s the same battery pack as the Excavator I built about a year ago.
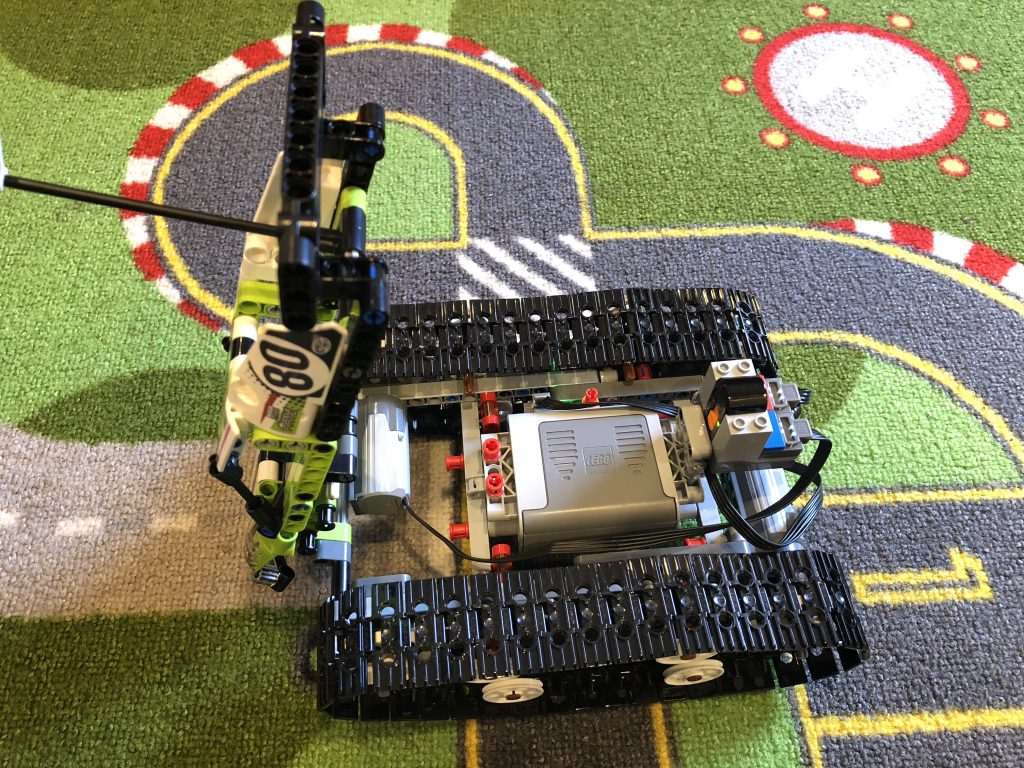
In this picture (above) you can see the right (front) and left (rear) motors along with the battery pack and IR receiver.
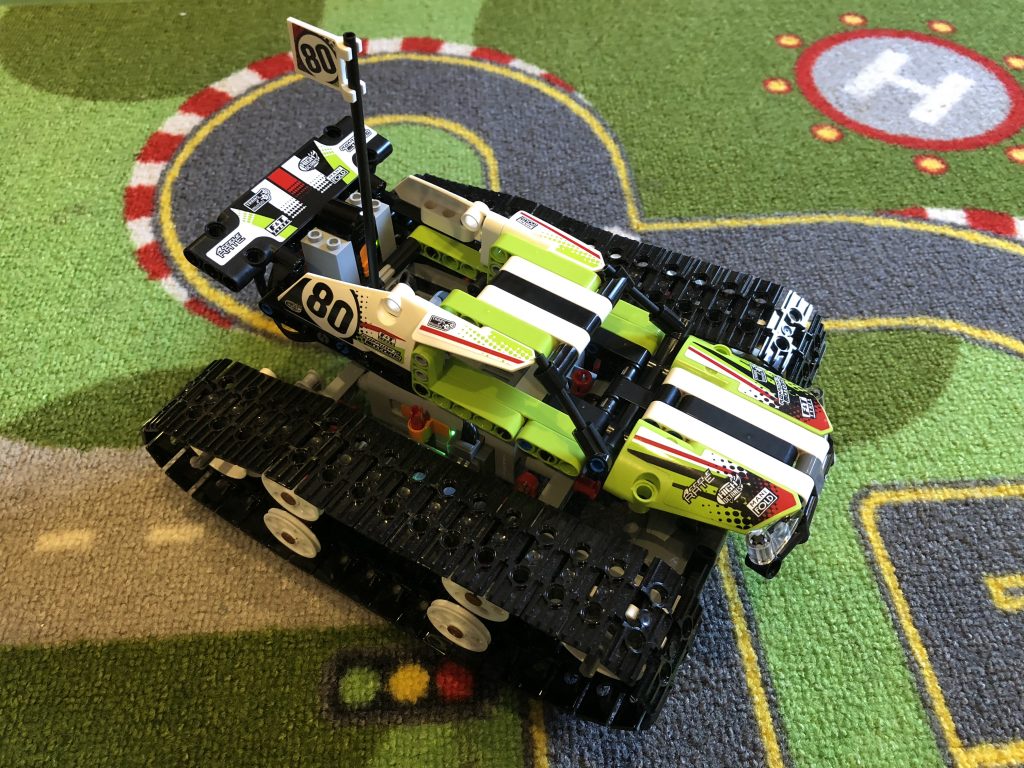
IT arrived on Thursday. The day I had to spend 13 hours in work making the place look lovely and welcoming. The packaging was lovely, even though it was a day late. I had spent some money on the collectors edition, mostly for a pretty box, a book and a toy car.

Once I got home after circling the village a few times to find somewhere to park I turned on the entertainment centre and popped the disk in. Instantly there was a 13GB update file to download. This was slightly annoying. It would take me 25 minutes or so for it to complete and so I watched some TV, all the while becoming more and more tired. This was at the end of a very long day!
I did enter some bonus content codes in the Playstation Store and got my extra goodies delivered when the game did eventually start.
I can confirm that this game looks absolutely lovely. I know there will be critics out there, but I’m not fussed. People take what they want from a game. I’ve been playing GT since 1997 [yep, I’m old] and still enjoy it. The aim of getting faster lap times or winning a hard race, thinking about pit stop strategy and over-taking tactics pleases me. I just like it. It’s also a game you can spend ten minutes on or a few hours, when you start it up you aren’t locked in to playing for a certain length of time.

I’m not convinced about the photo mode within the game. I’d rather spend my time racing but I probably will end up spending some time within it as there are bonus points to be got!
Did I say it looks lovely?

I’ll keep posting communications on this topic, as it’s a handy conversation for me. I can also track my progress.
#PS4share pic.twitter.com/UeFfP5LZeU
— Ian Parish (@iparish) October 19, 2017
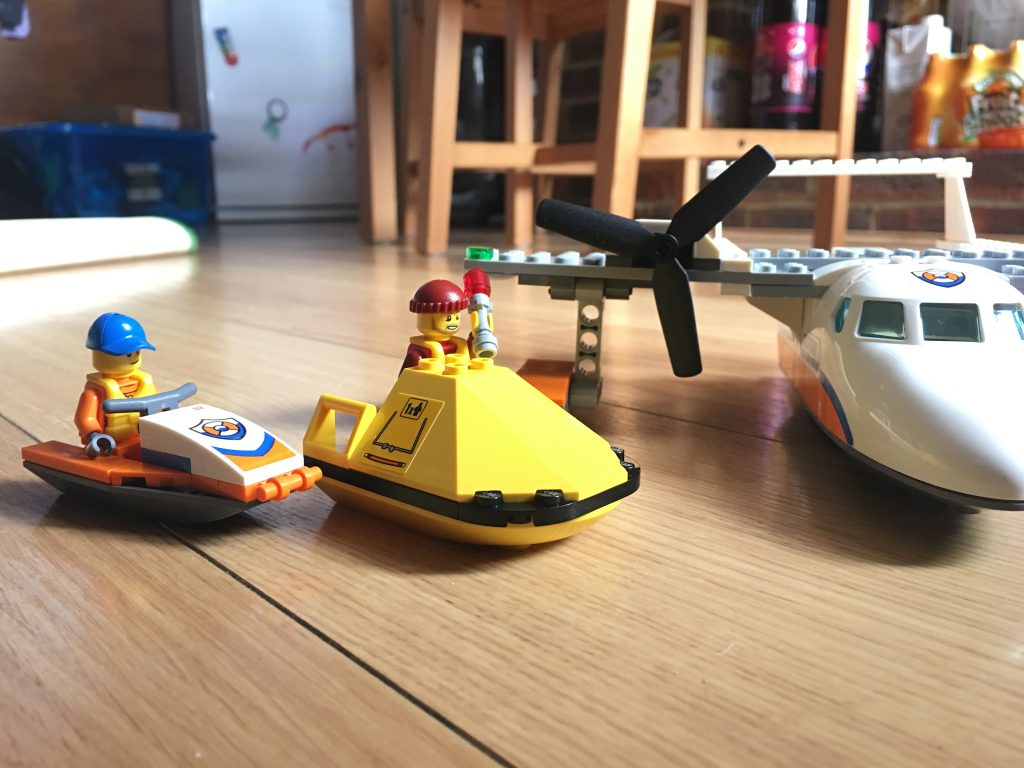
Here’s a lovely twin boom sea plane. I think it looks gorgeous. It carried the jet-ski.
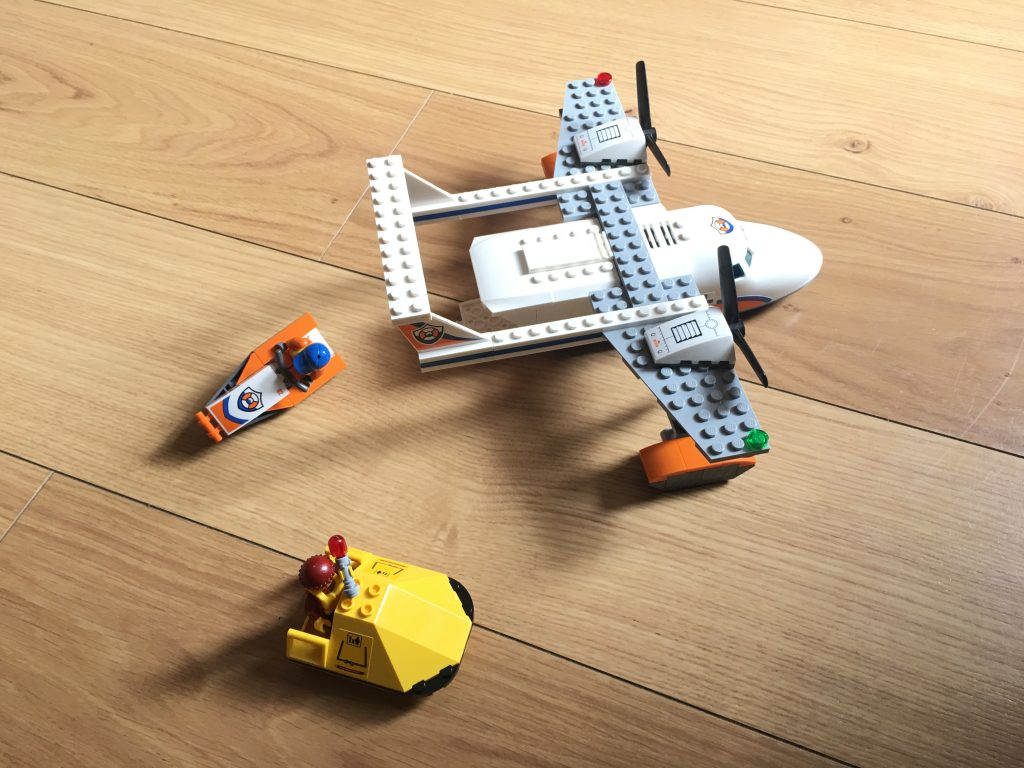
This is a new view for me, the head on!
I spent a little while this weekend making a compressed air rocket launcher. I’ve had a stomp rocket for quite a while but this was something that I used to have but lost in time gone by. So, for about a year or so I’ve been thinking of making a new one. The first of these I created after a week’s training at the Kennedy Space Centre in Florida. There I got simple plans and used them with parts that I suspect I carried on a motorbike although how I got the tubing home I don’t know. There are photos of this somewhere, but I’ve had a quick look and couldn’t find them.
Here are most of the bits I bought.
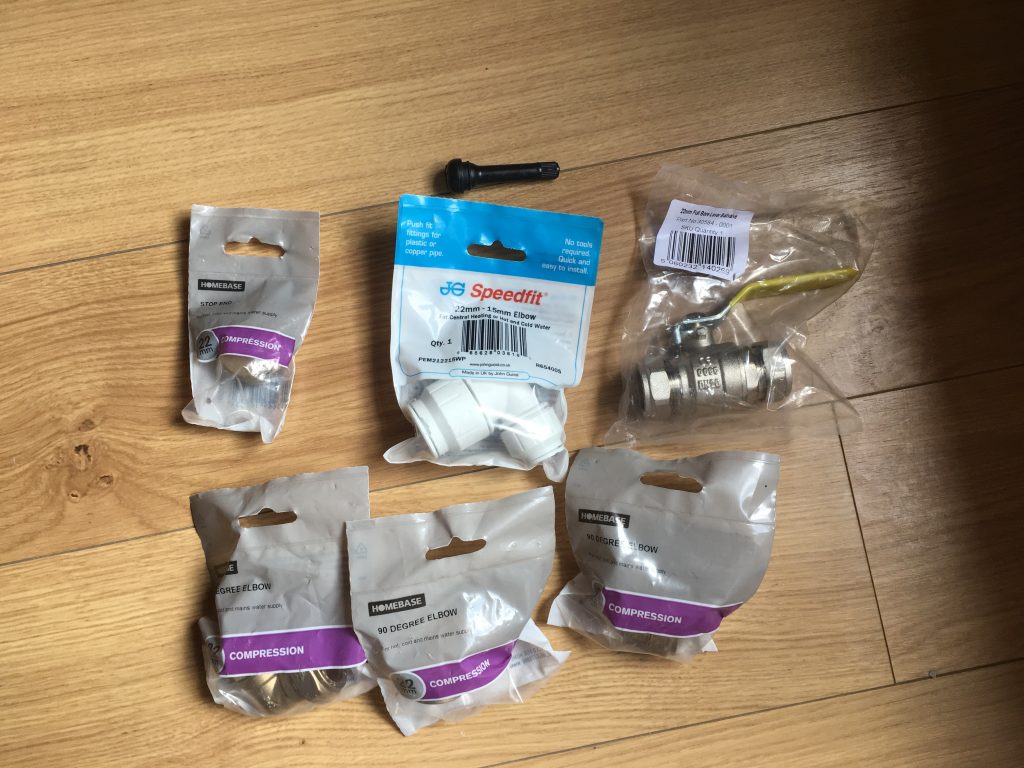
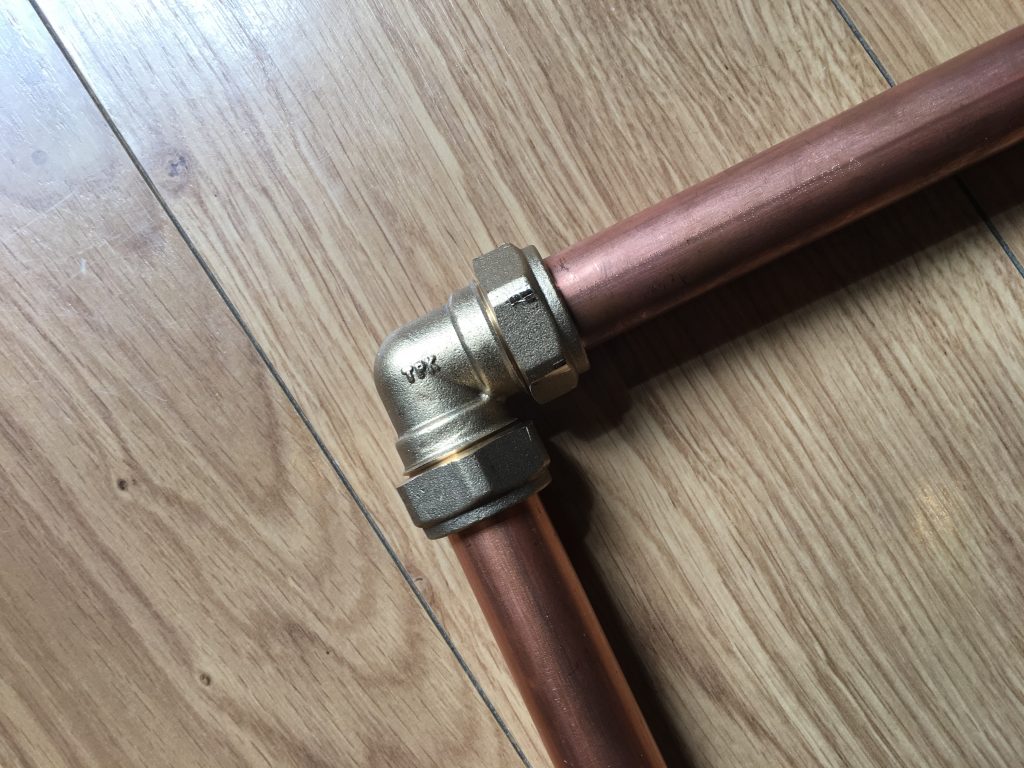
These need to be put together using the compression joints.
The trickiest part of this build is drilling the end plate so that the car tyre valve fits it snuggly. Once you’ve spent a little time you get this wonderment:
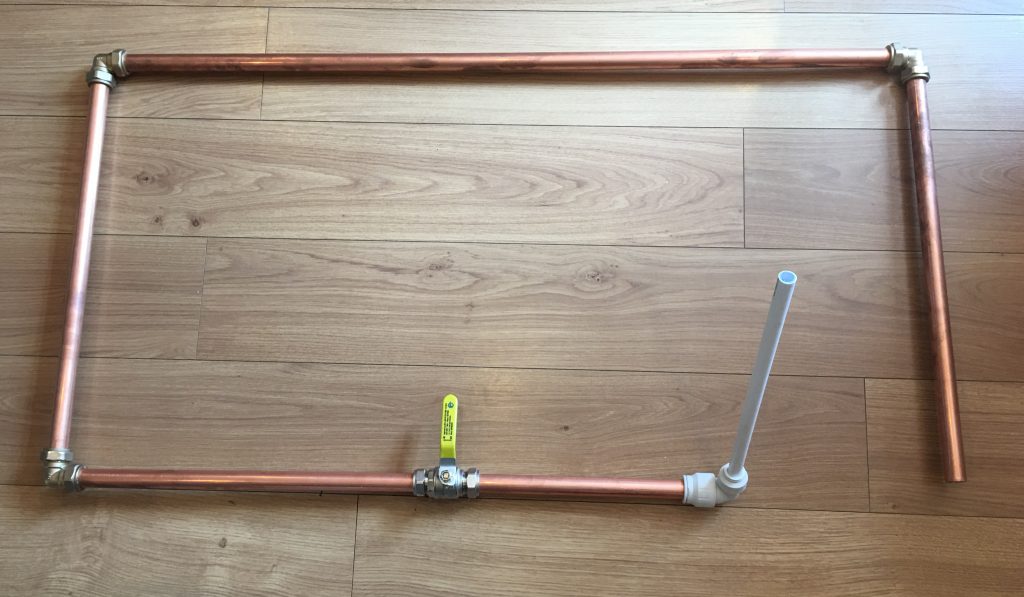
Once the tyre valve is fitted you get a beast that looks like this:
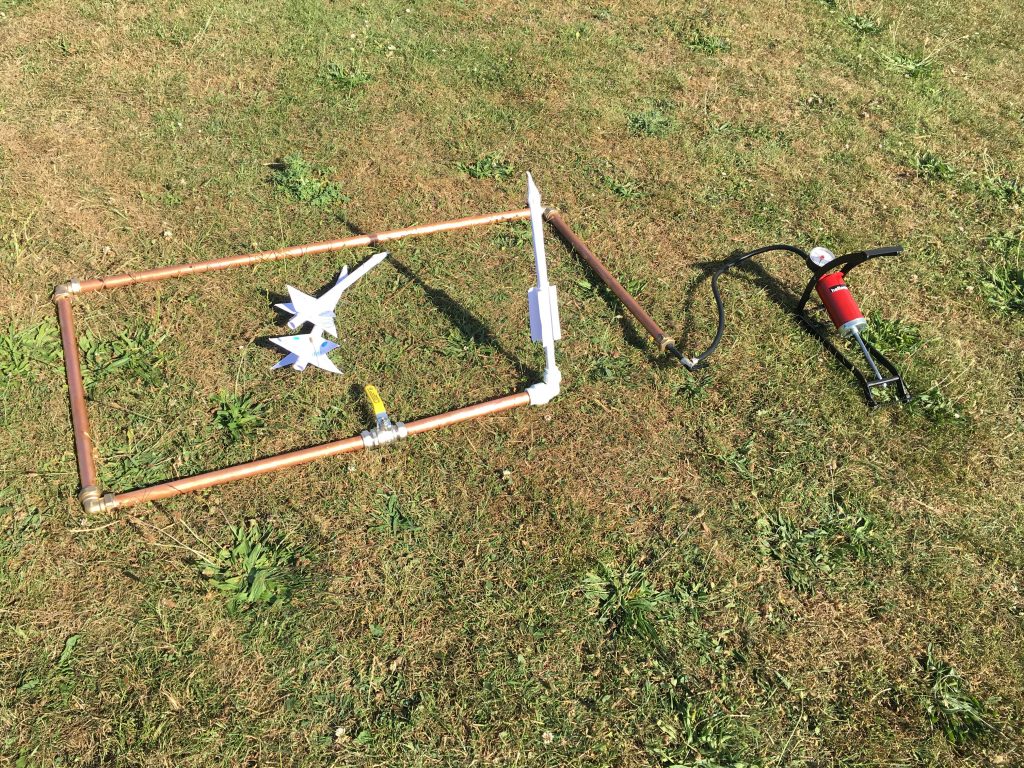
I don’t have any video yet, I will endeavour to get some ready and will add it to this page or my YouTube area.
I pumped the tube up to about 4 Bar and then opened the gas tap. I reckon I got about 5 seconds of flight time. I’m happy with that. I don’t really want to increase the pressure too much because I don’t want the thing to blow itself apart and kill someone!
Last one this week in the mini-Lego season. A surfing scenario! Just in time for the release of Baywatch, which I shall not be reviewing.
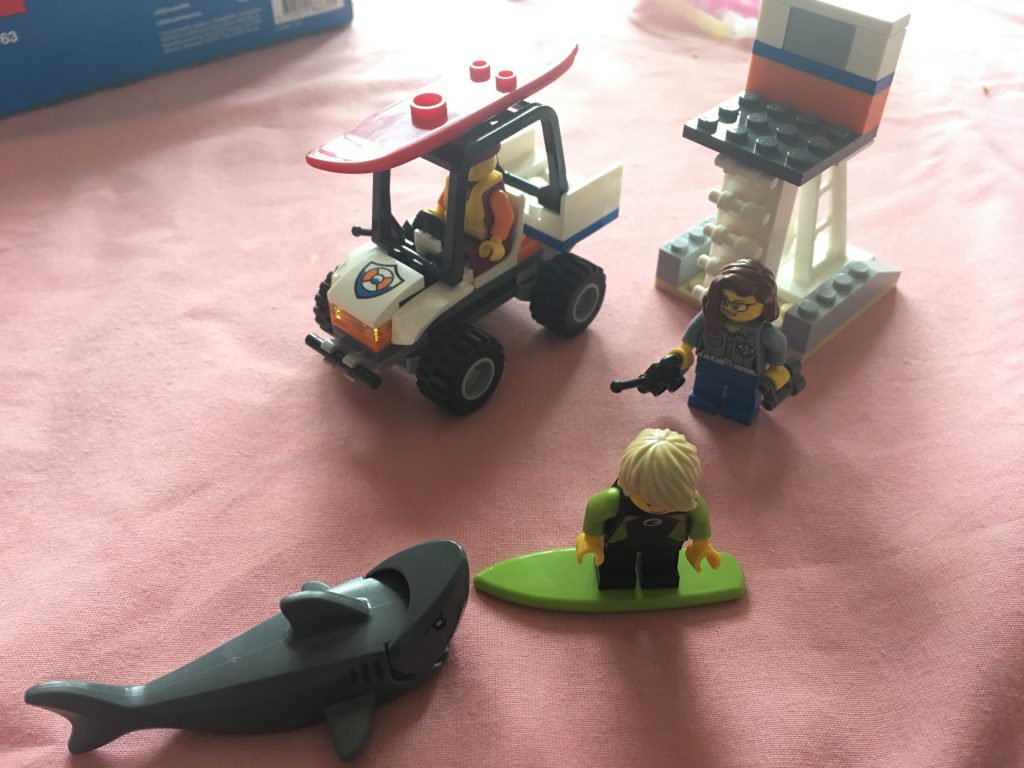
More of the Lego mini-season here.

This is a pretty neat Lego buggy racer.
Here we go with a Star Wars Lego kit. Just a mini one really and not worth building. It seems that the Lego people have been designing “scenes” rather than models that can create story. As an example here’s the Death Of Darth Maul Lego scene.
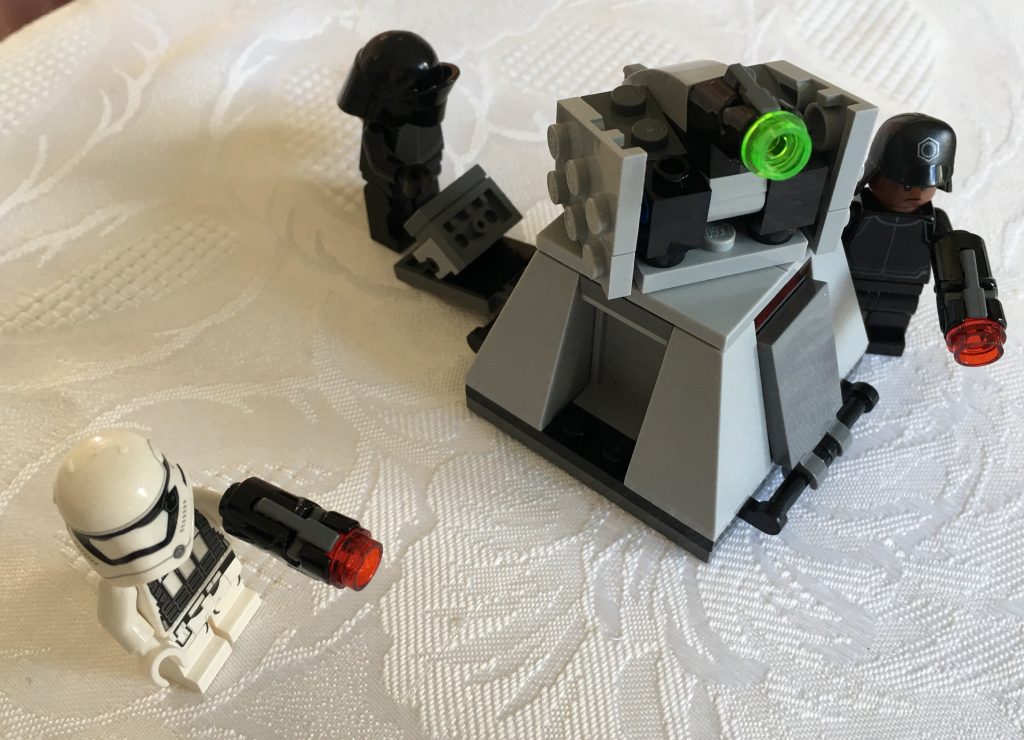
In the continuing mini-series of Lego season here we have a couple of superheroes:
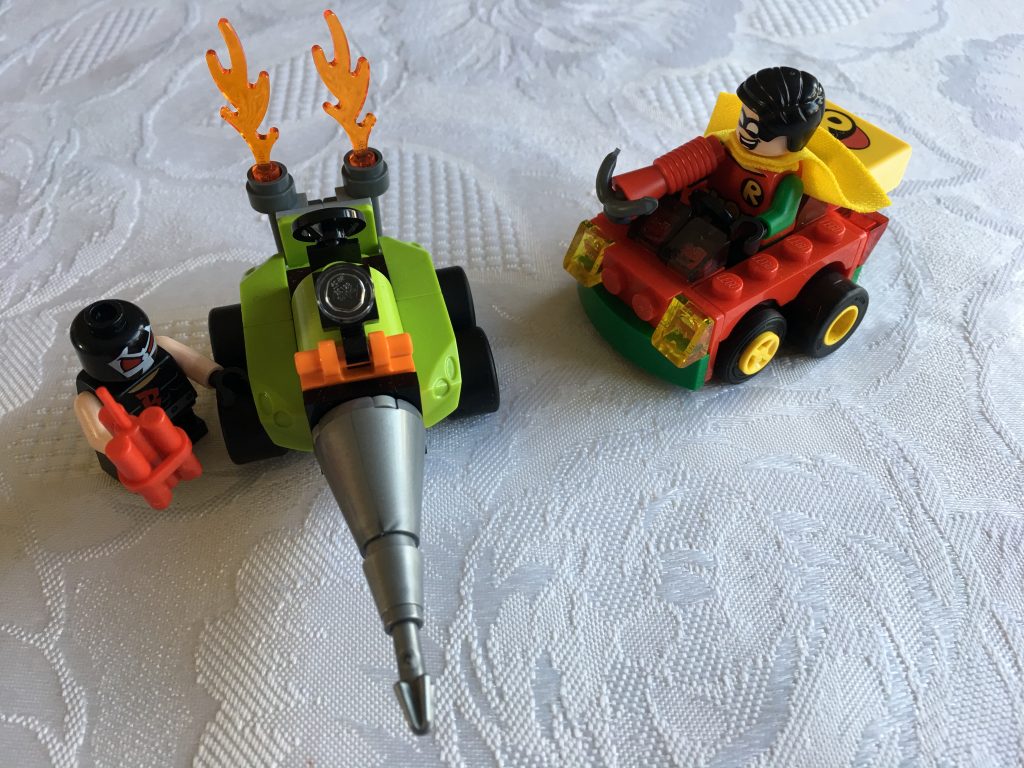
This is Robin and Kane (?).
I’ve been corrected. It is Bane. I would embed the tweet but it’s protected so can’t.
It’s a mini Lego season at the moment. Here’s 76076:
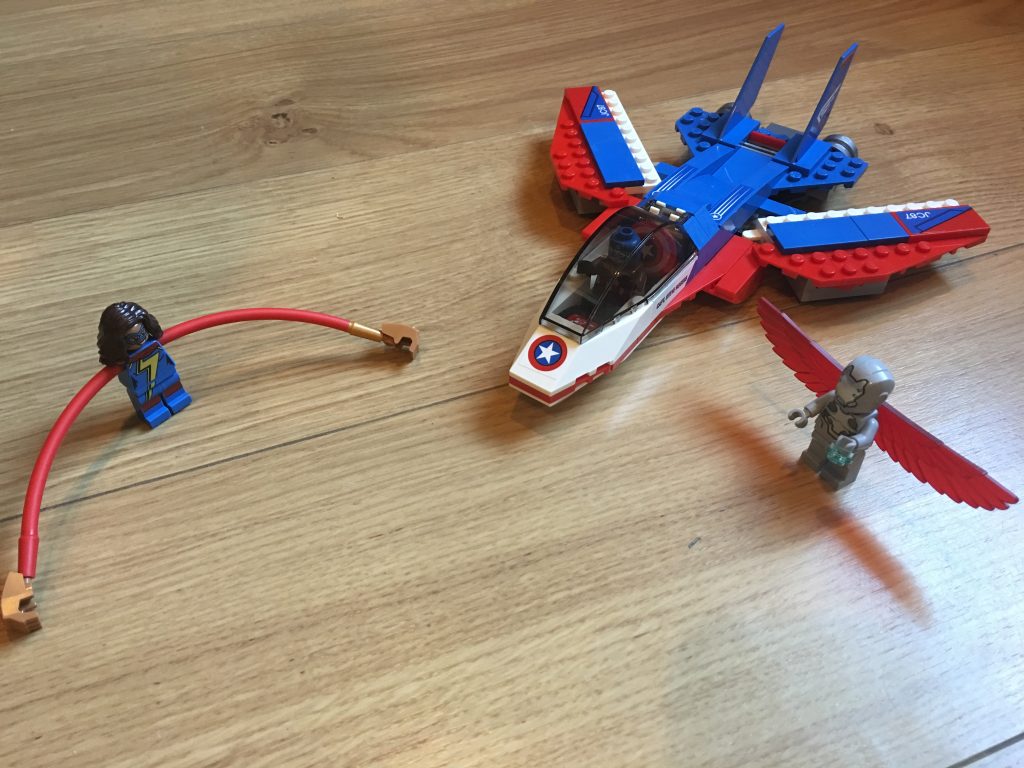
The wings on the aeroplane sweep forwards for more manoeuvrability and lower landing speed.

The last in this recent Season of Lego this is a road sweeper and repair unit.
At work:
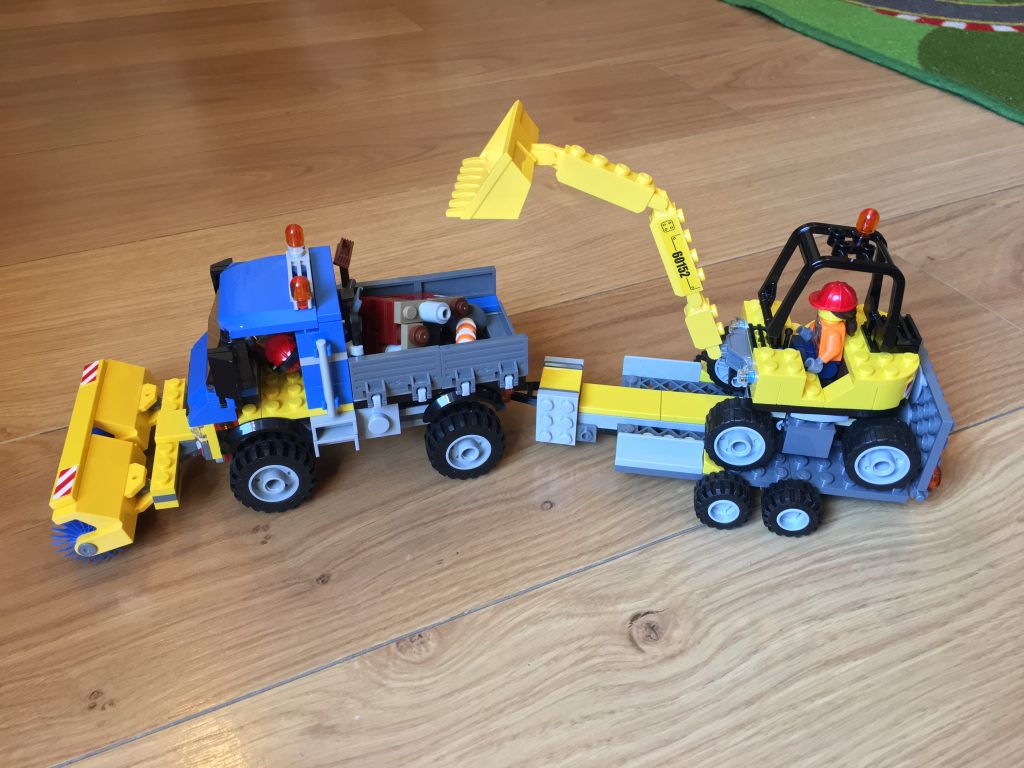
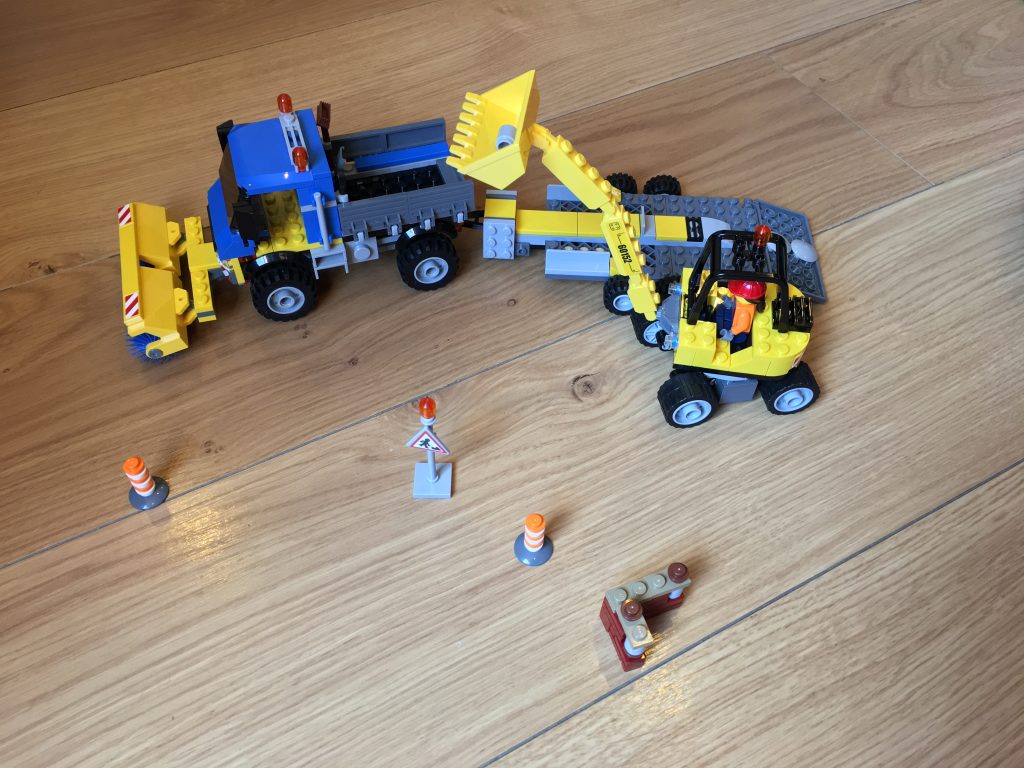
Last view (a fish-eye!):
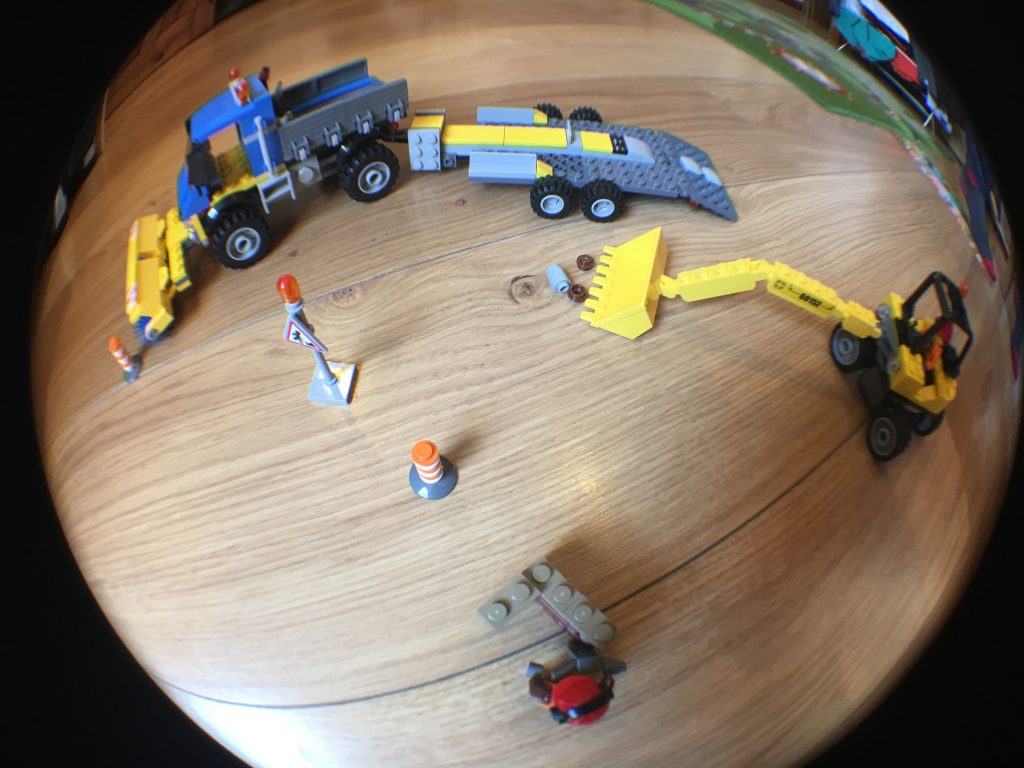
Now, the final communication. Here’s the bucket wheel working:
Here’s the machine turning the bucket arm:
Moving forward:
And general operation:
Overall this was great fun and very relaxing. Hour for hour entertainment it was about the same as watching an IMAX film.
This is the final push. The operators cab and safety railings is built. Along with adding lights and ladders this now completes the Bucket Wheel Excavator.
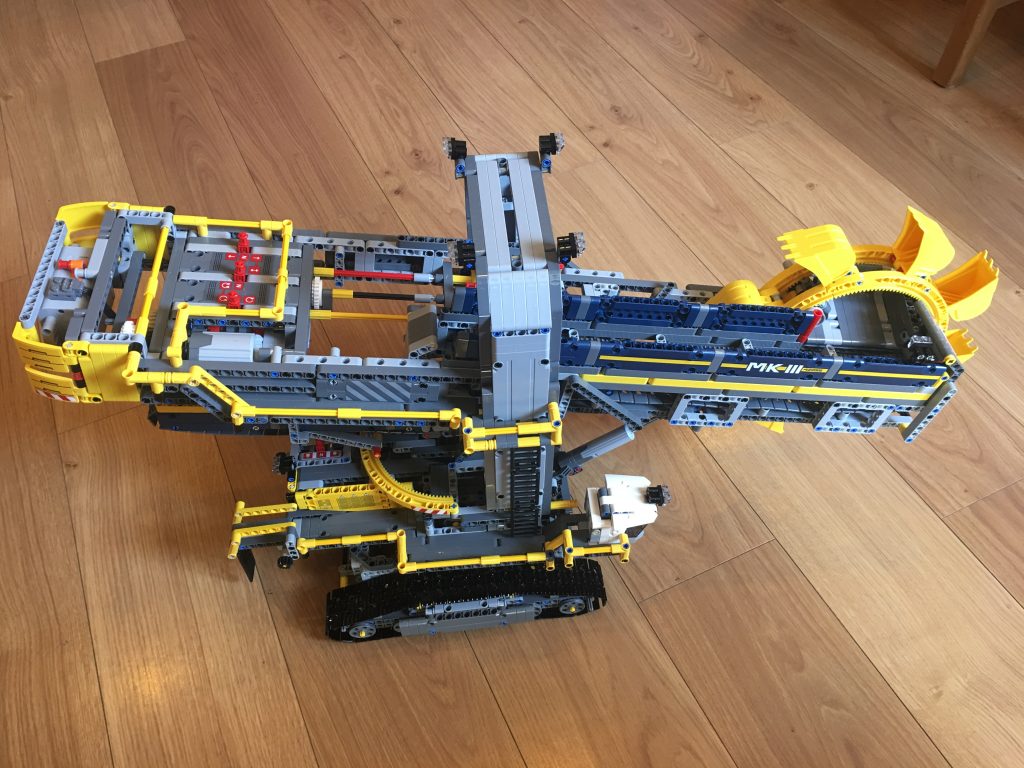
This was probably another hour and a half so total build time is roughly 11 hours. I would argue it was worth every penny.
Some detail photos for you now:
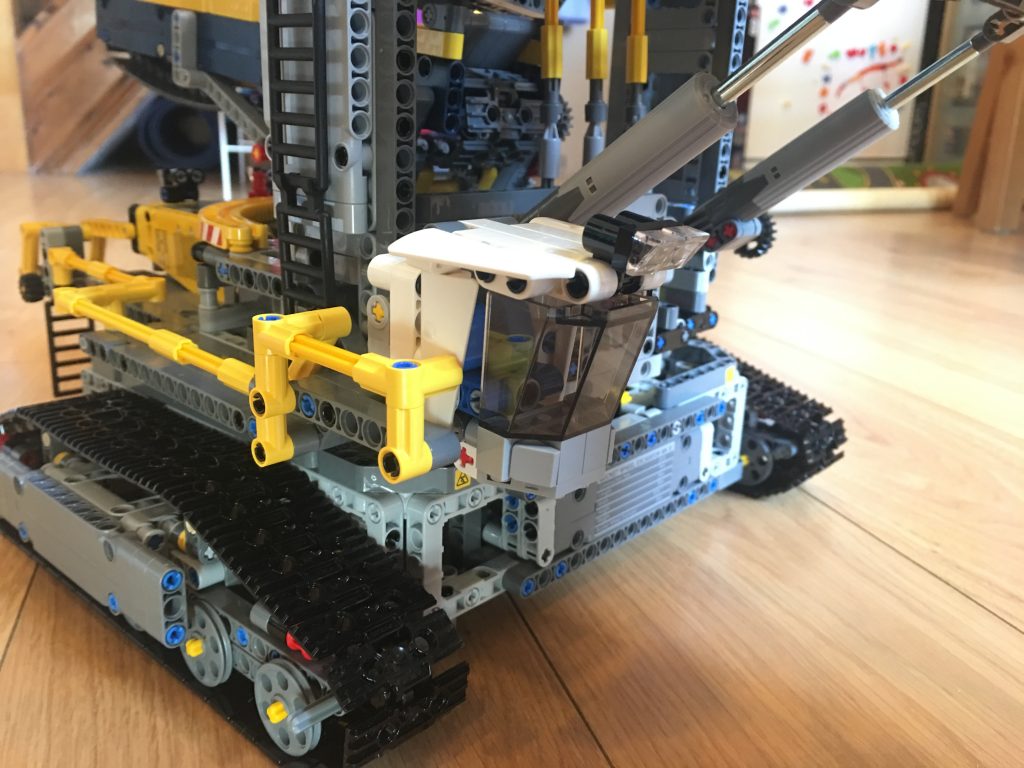
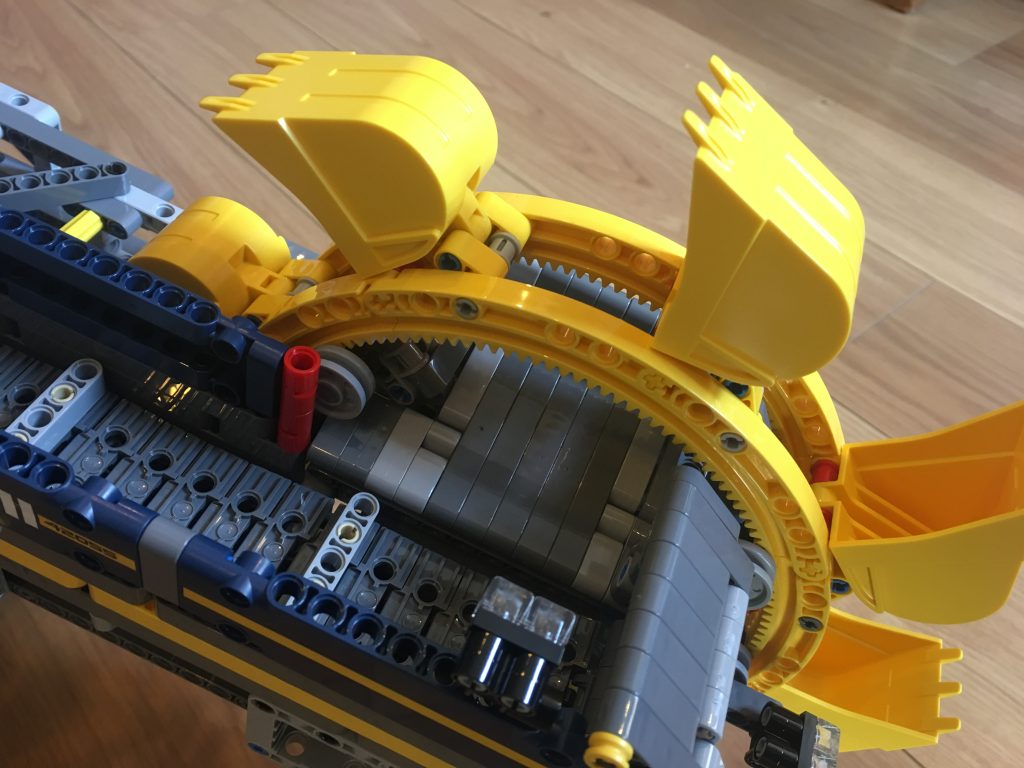
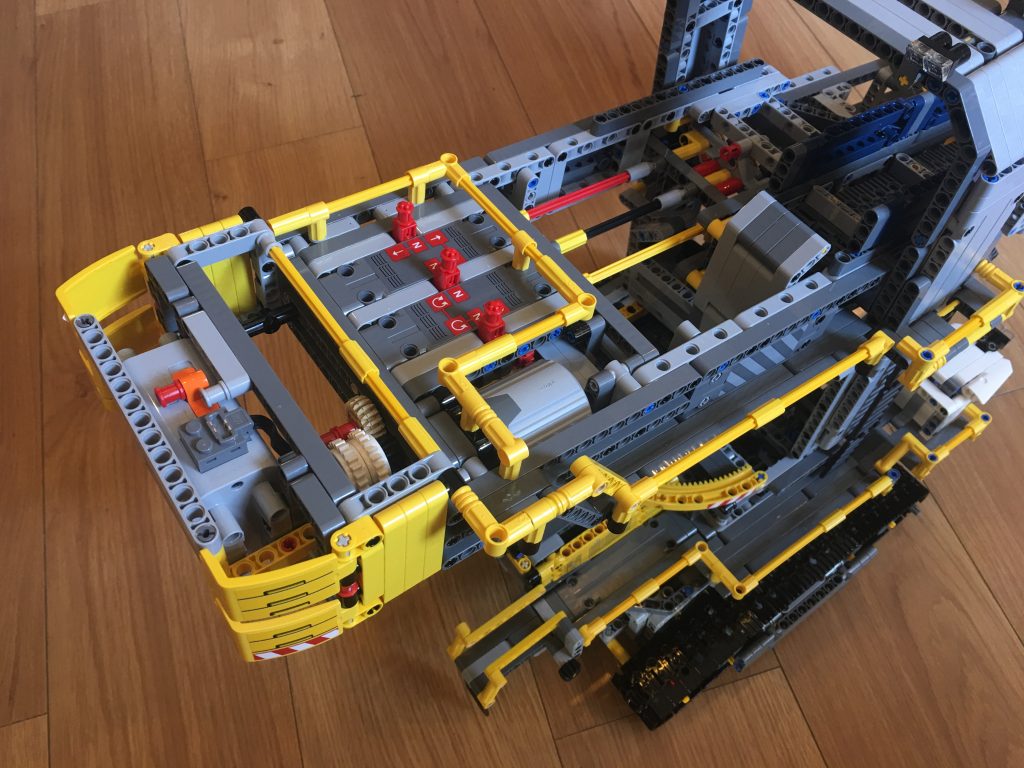
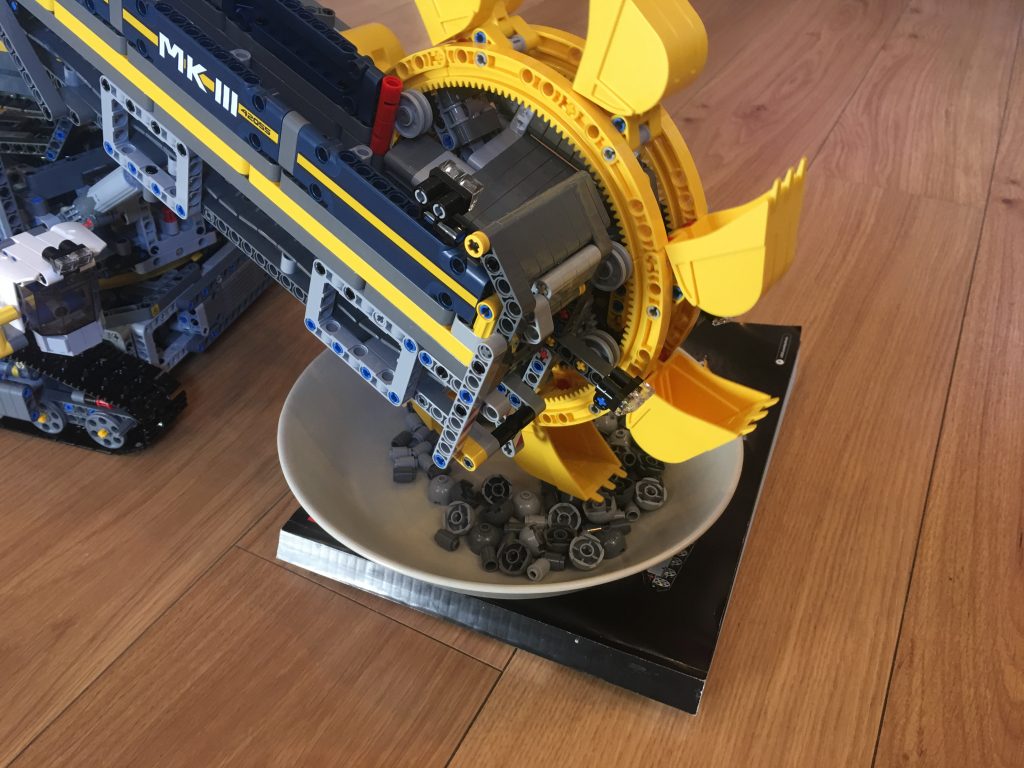
This part of the Bucket Wheel Excavator is to build the power section. This includes a motor, battery pack and the gearing system to turn on and off different drives.
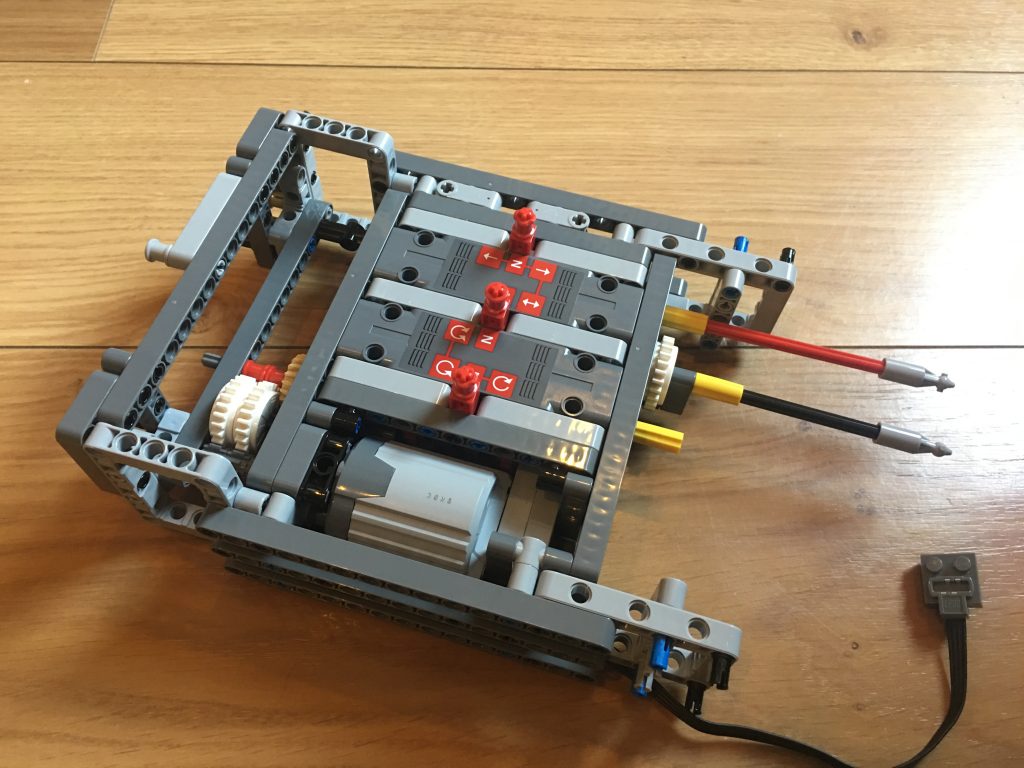
This was another hour after a few mistakes were made! Then I had to connect it to the main bucket wheel arm.
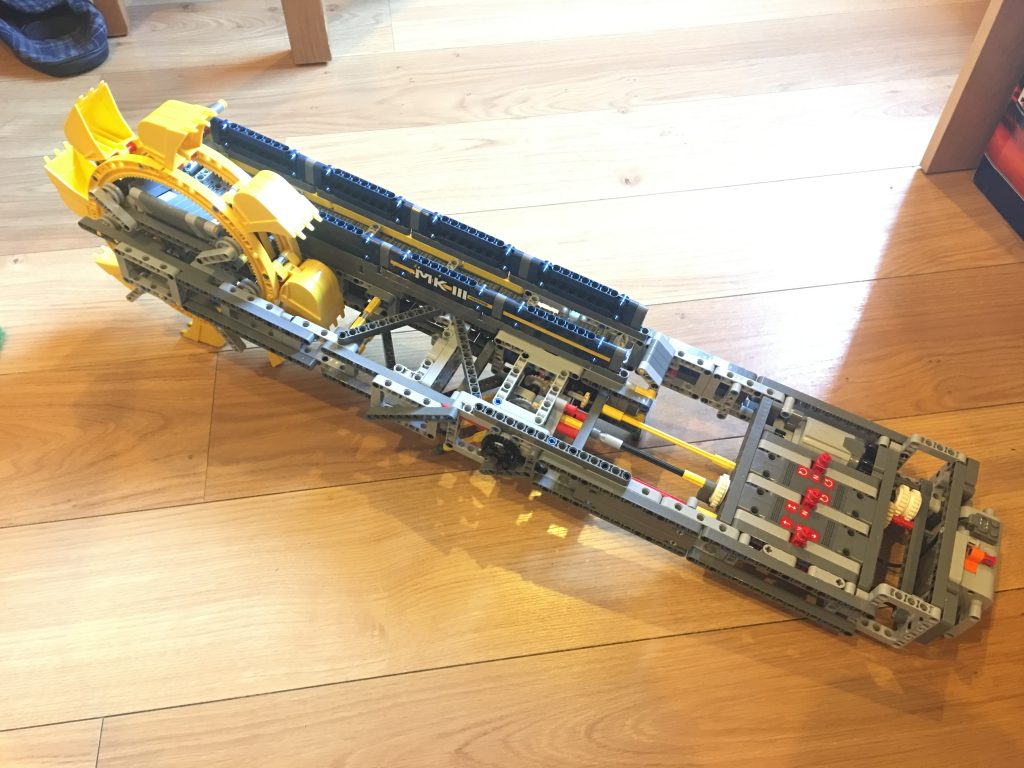
A top view:
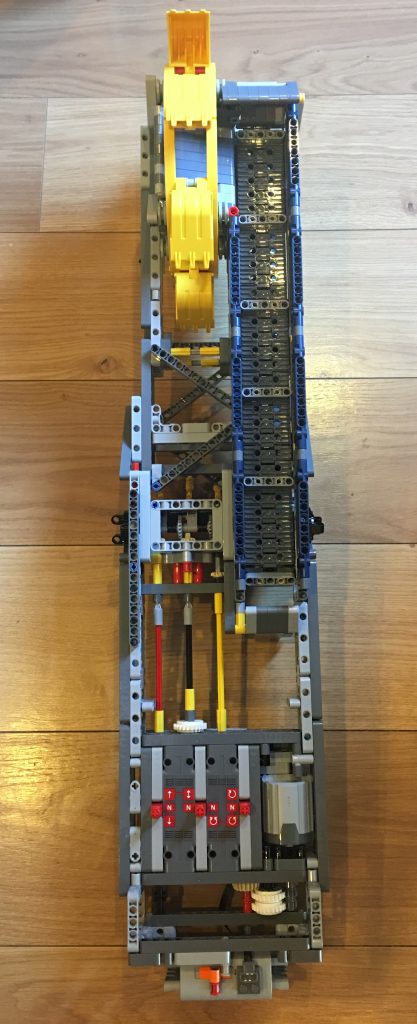
Then this arm had to be connected to the main body.
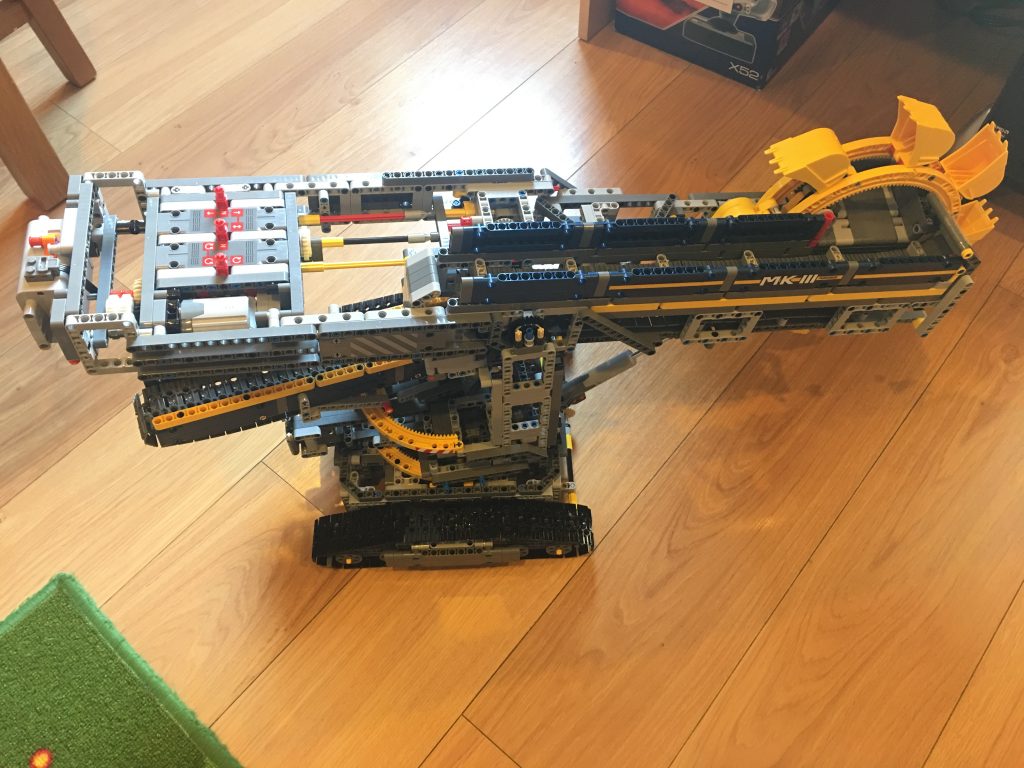
Then the bucket arm was secured and the top superstructure was built.
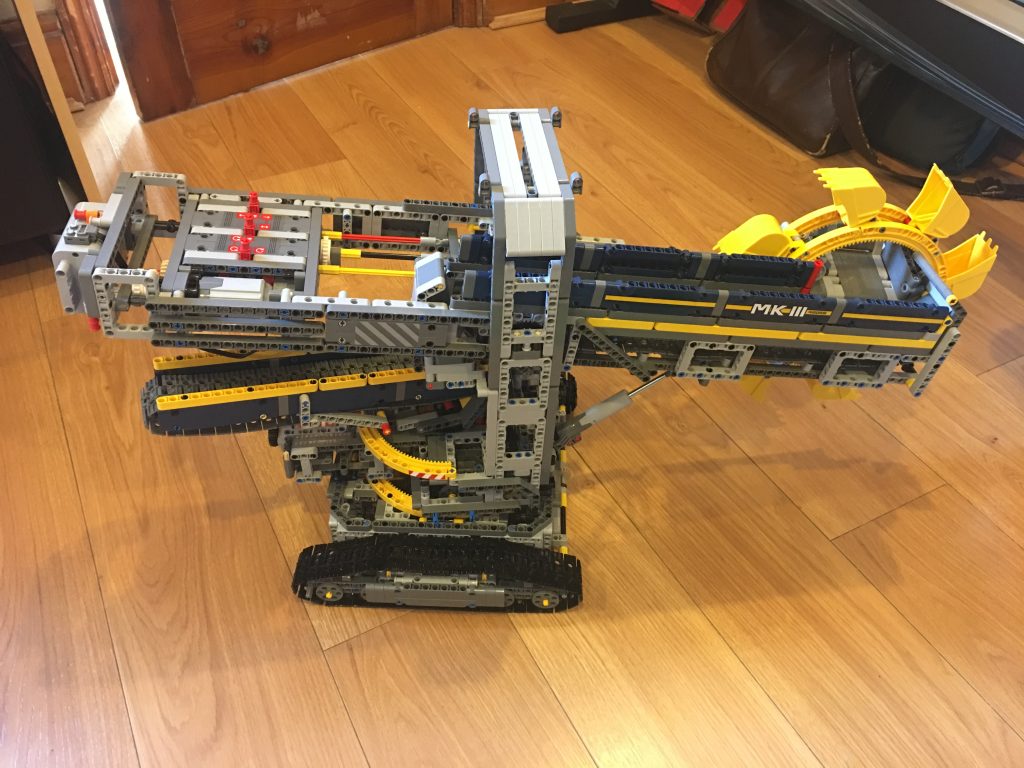
Current total time: 9 hr 15 mins
The next section of this mammoth build was the conveyor away from the bucket wheel.
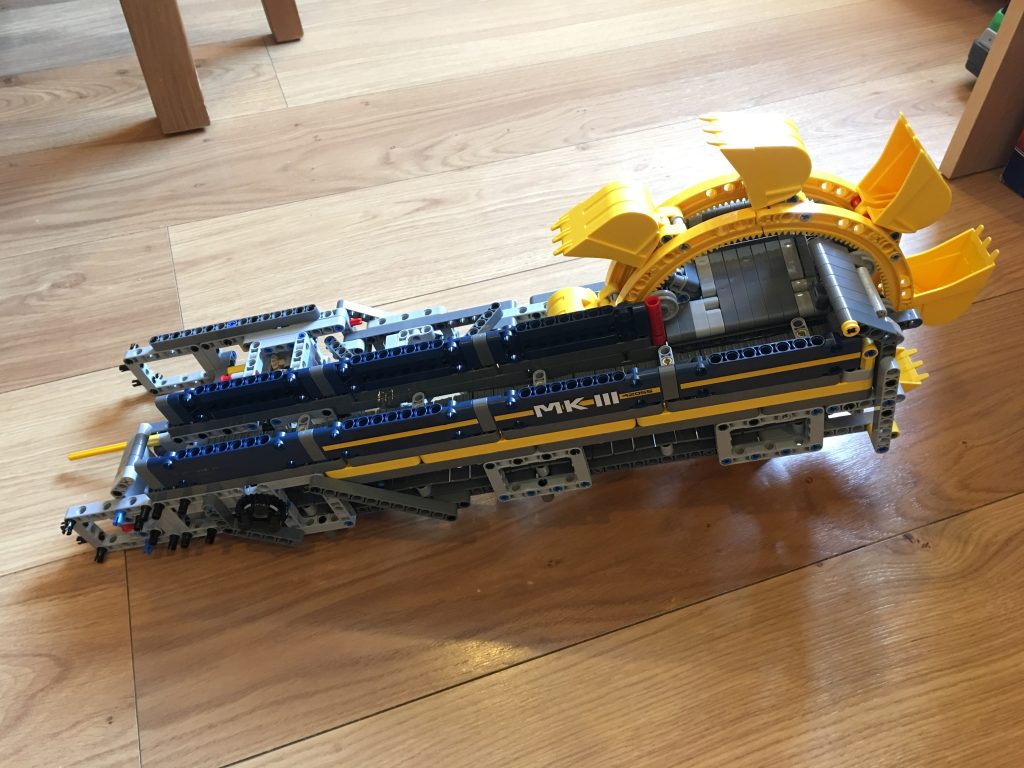
This was another hour. So current total time is 8 hr 15 min.
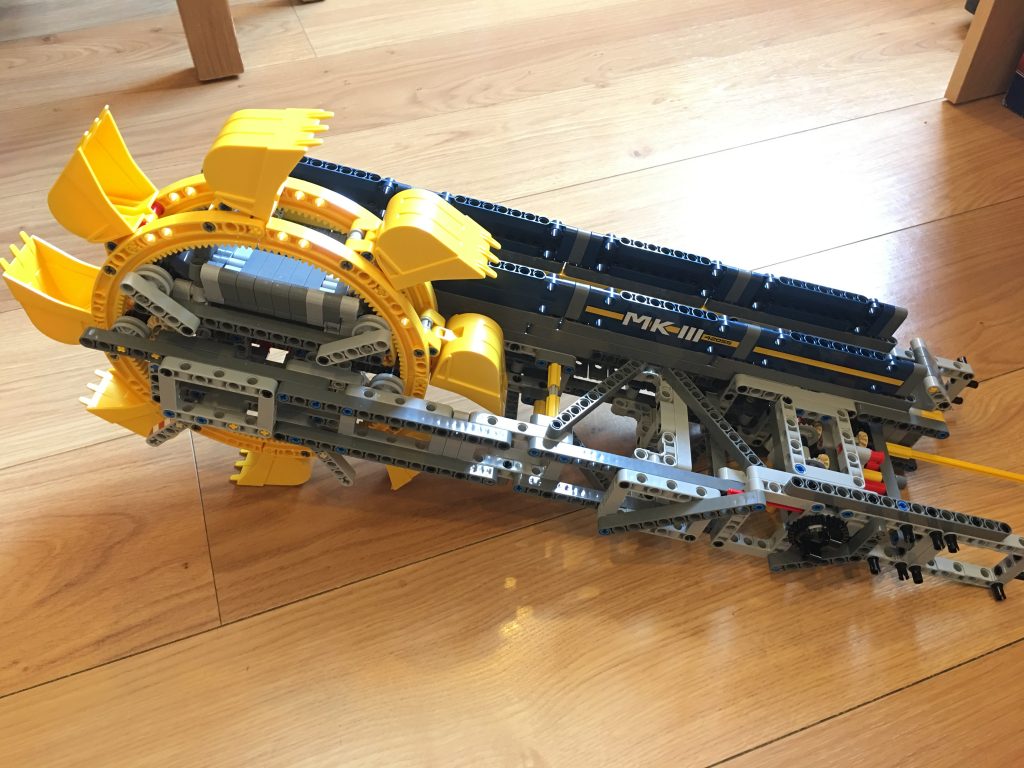
And, one more for luck.
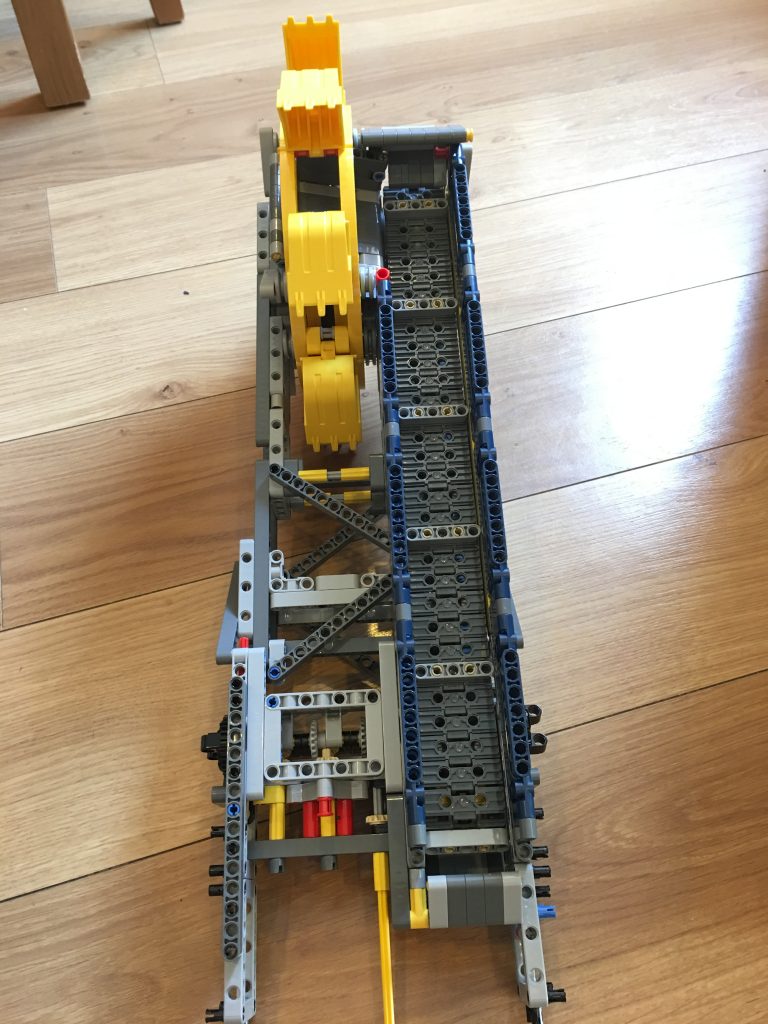
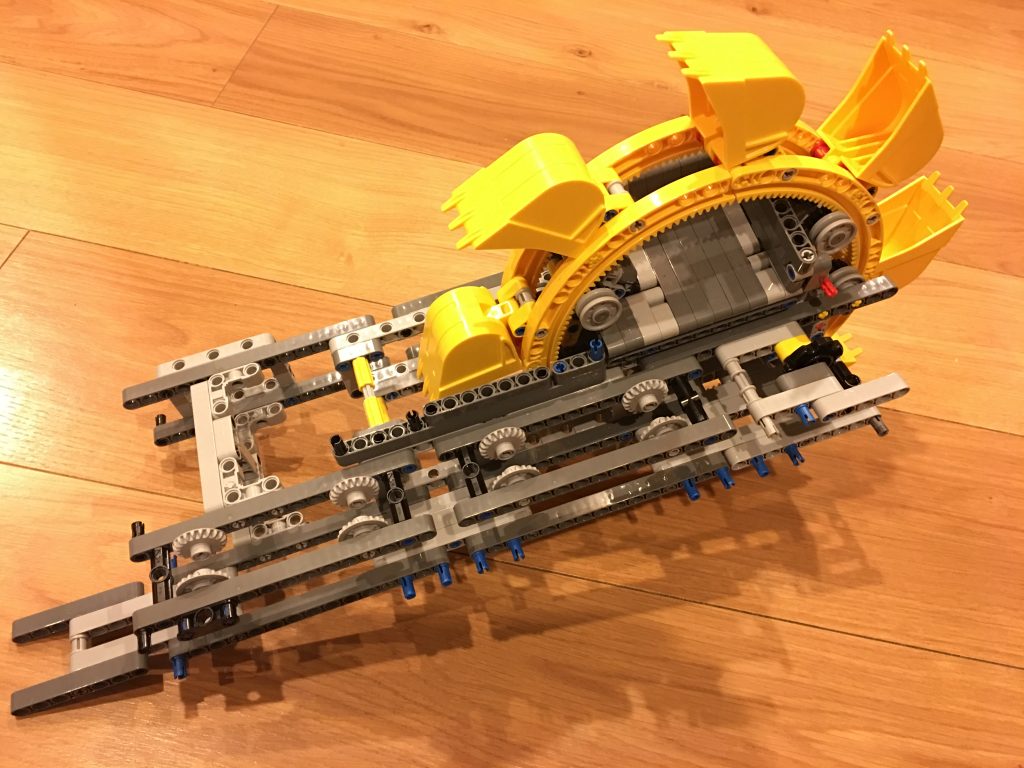
This latest in the occasional series of the Bucket Wheel Excavator build chronicles my building of the bucket wheel arm, although only the first half. This took about an hour and an half so the total time so far is 7 hours 15, I think. I did make a mistake on this one, I put the buckets on facing the wrong way and was too tired to work out if it mattered and so I wasted about ten minutes refitting them correctly.
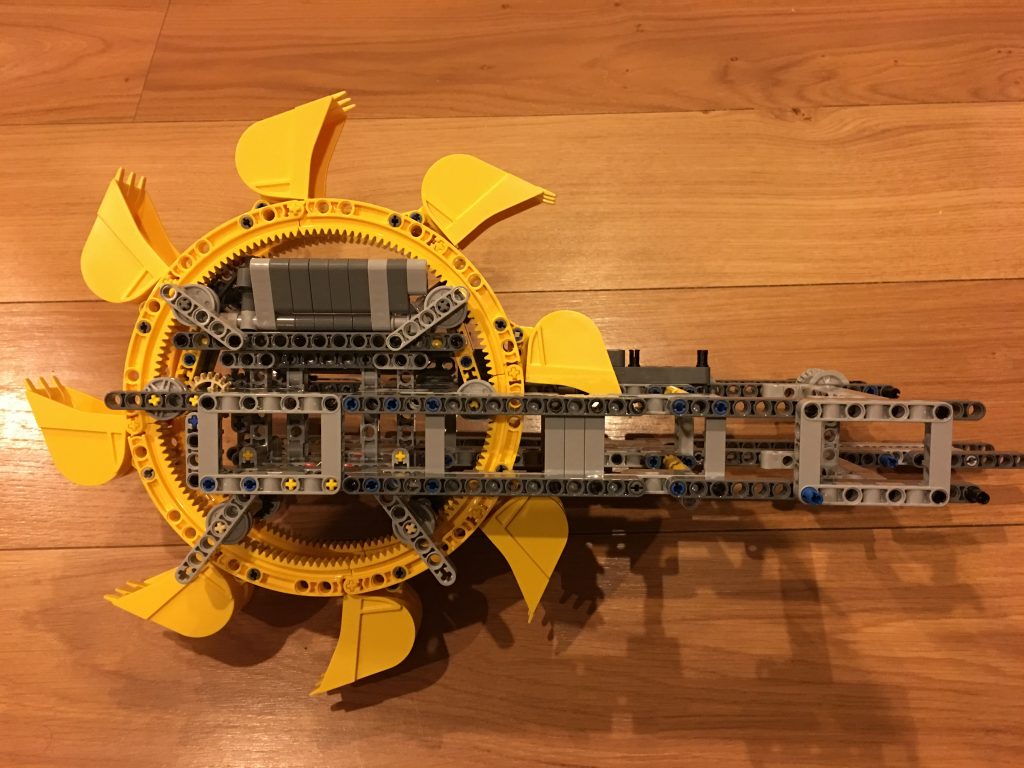
Another view, showing more of the mechanism.
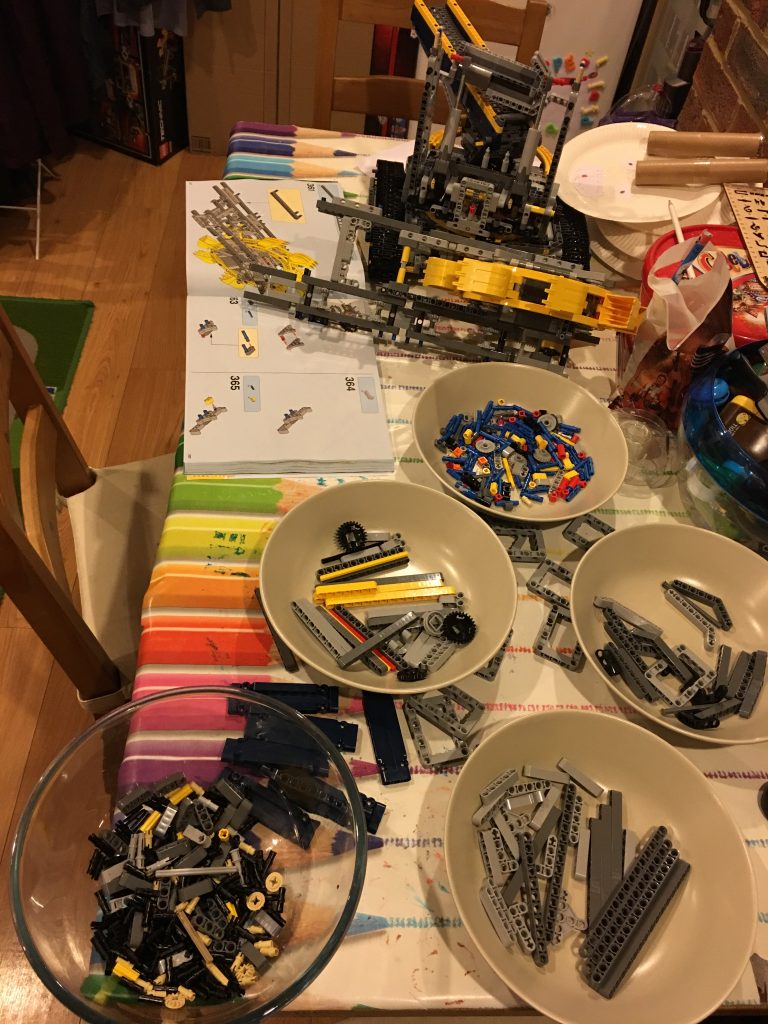
Now, for completeness of record, here is a view of my working space:
And the reverse view:
